sqlite, Node.js, Express를 이용한 CRUD게시판 만들기
sqlite, node js, express를 사용한 CRUD게시판 만들기 포스팅입니다.
1. 기본 세팅 완료하기
- 작업할 디렉토리를 설정하고 npm init
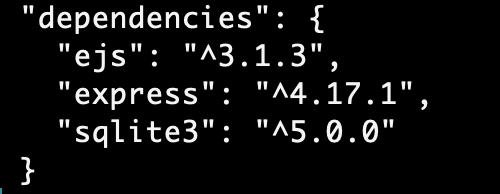
작업에 필요한 모듈 설치하기
npm install express
npm install ejs
npm install sqlite
or
npm install express ejs sqlite3
2. ejs view 생성하기
- 현재 작업중인 디렉토리에 views 폴더를 생성한다.
- 작업에 필요한 index.ejs, header.ejs, footer.ejs를 생성한다.
- 기능별로 조각 조각으로 view들을 쪼개서 작업을 할 수 있다.
// header.ejs
<!doctype html>
<html lang="fr">
<head>
<meta charset="utf-8">
<meta name="viewport" content="width=device-width, initial-scale=1, shrink-to-fit=no">
<title>AppTest</title>
<link rel="stylesheet" href="/css/bootstrap.min.css">
</head>
<body>
<div class="container">
<nav class="navbar navbar-expand-lg navbar-light bg-light">
<a class="navbar-brand" href="/">AppTest</a>
<ul class="navbar-nav mr-auto">
<li class="nav-item">
<a class="nav-link" href="/about">About</a>
</li>
<li class="nav-item">
<a class="nav-link" href="/data">Data</a>
</li>
<li class="nav-item">
<a class="nav-link" href="/books">Books</a>
</li>
</ul>
</nav>
// footer.ejs
<footer>
<p>© 2019 - AppTest</p>
</footer>
</div>
</body>
</html>
// index.ejs
<%- include("header") -%>
<h1>Hello world...</h1>
<%- include("footer") -%>
3. Express에서 Views 사용하기
- index.js 파일 수정하기
// index.js
const express = require("express"); // express module을 import한다는 의미
const ejs = require("ejs");
const app = express(); // Express server의 시작
const path = require("path");
app.set("view engine", "ejs"); // ejs 엔진을 사용한다고 선언하기
// views들이 views 폴더에 저장됨을 설정
app.set("views", path.join(__dirname, "views")); // app.set("views", __dirname + "/views"); 와 동일한 의미
app.use(express.static(path.join(__dirname, "public"))); // css와 같은 static file들이 저장된 경로 설정
app.listen(3000, () => {
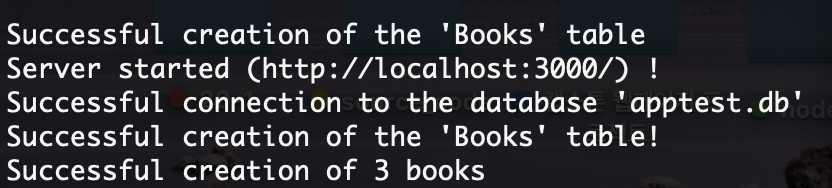
console.log("Server started (http://localhost:3000/) !");
});
// 첫번째 파라미터 "/"에 전달된 HTTP GET request에 응답
app.get("/", (req, res) => {
res.render("index");
});
header 부분의 nav 내용 채우기
- about : views 안에 about.ejs 생성하기
// about.ejs
<%- include("header") -%>

<h1>About AppTest</h1>
<h3>Sqlite, NodeJs, Express를 이용한 CRUD게시판 만들기. :D</h3>

<%- include("footer") -%>

//index.js
// function추가
app.get("/about", (req, res) => {
  res.render("about");
});

- data: views 안에 data.ejs 생성하기
- 일단은 예시로 보여줄 데이터로 index.js의 app.get에서 test를 보냄
// index.js
app.get("/data", (req, res) => {
  const test = {
    title: "Test",
    items: ["one", "two", "three"]
  };
  res.render("data", {model: test});

});

//data.ejs
<%- include("header") -%>

<h1><%= model.title %></h1>
<ul>
  <% for(let i=0 ; i<model.iteåms.length; i++) { %>
    <li><%= model.items[i] %></li>
  <% } %>

</ul>

<%- include("footer") -%>

4. DB 연결하기 - SQLite 모듈 사용하기
- db 연결은 express서버와 연결하기 전에 하기!
- 데이터베이스는 data폴더에 apptest.db의 이름으로 저장된다는 의미
- 실행 전에 미리 data 폴더 만들기!
// index.js
const sqlite3 = require("sqlite3").verbose();

const db_name = path.join(__dirname, "data", "apptest.db");
const db = new sqlite3.Database(db_name, err => {
  if(err) {
    return console.error(err.message);
  }
  console.log("Successful connection to the database 'apptest.db'");
});

var app = express;

- Books라는 테이블을 생성하고, 예시로 책 3권의 정보를 넣는 쿼리 작성
//index.js
db.run(sql_create, err => {
  if( err ) {
    return console.error(err.message);
  }
  console.log("Successful creation of the 'Books' table!");
});

  // Database seeding
  const sql_insert = `INSERT INTO Books (Book_ID, Title, Author, Comments) VALUES
  (1, 'Mrs. Bridge', 'Evan S. Connell', 'First in the serie'),
  (2, 'Mr. Bridge', 'Evan S. Connell', 'Second in the serie'),
  (3, 'L''ingénue libertine', 'Colette', 'Minne + Les égarements de Minne');`;
  db.run(sql_insert, err => {
    if (err) {
      return console.error(err.message);
    }
    console.log("Successful creation of 3 books");
  });


  // book.ejs
 <%- include("header") -%>

<h1>List of books</h1>

<ul>

  <% for (const book of model) { %>
    <li>
      <%= book.Title %>
      <em>(<%= book.Author %>)</em>
    </li>
  <% } %>

</ul>

<%- include("footer") -%>


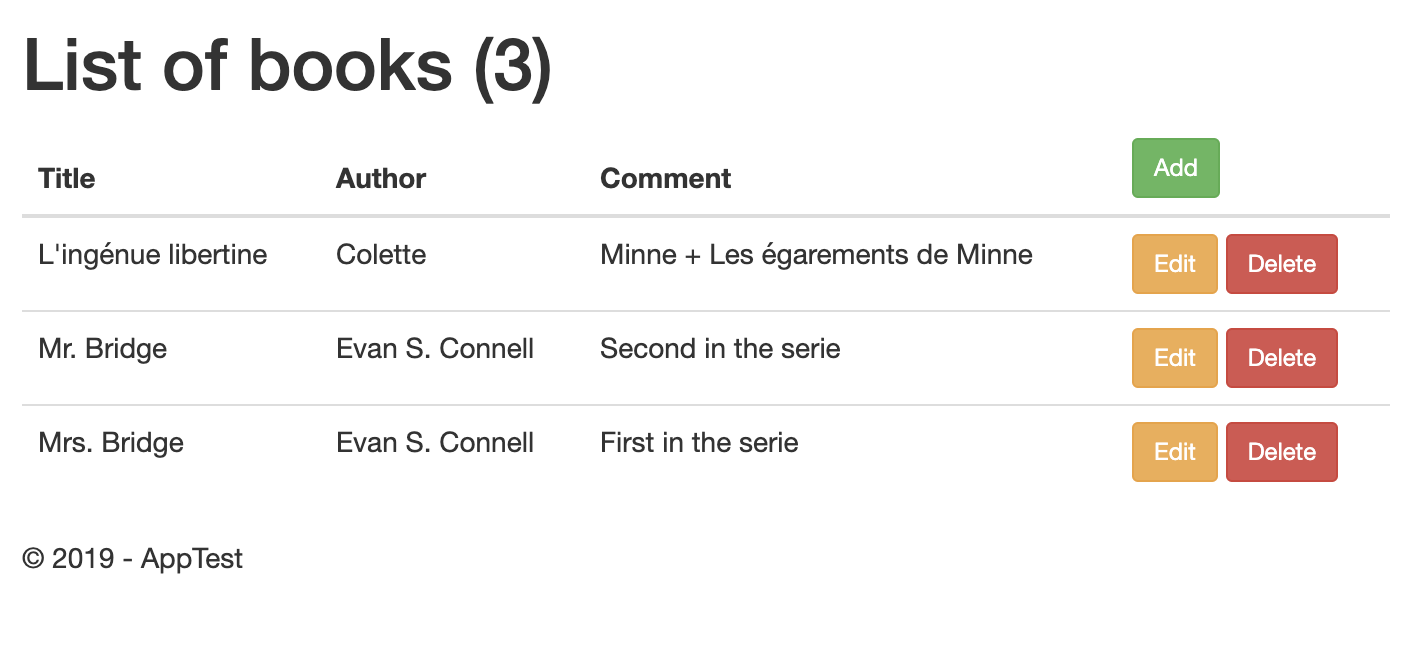
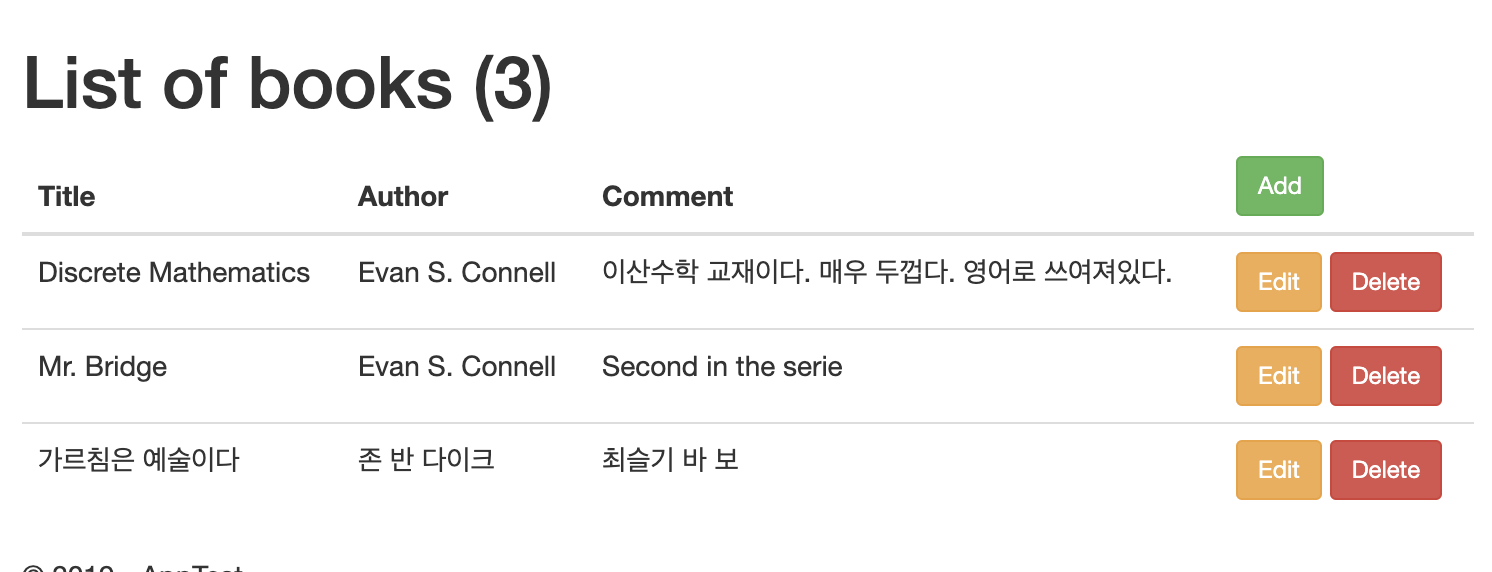
book의 내용이 잘 전달되는 것을 확인한 후, li로 정렬되어 있는 book page를 테이블의 형식으로 바꿔줍니다.
<div class="table-responsive-sm">
  <table class="table table-hover">
    <thead>
      <tr>
        <th>Title</th>
        <th>Author</th>
        <th>Comment</th>
        <th class="d-print-none">
          <a class="btn btn-sm btn-success" href="/create">Add</a>
        </th>
      </tr>
    </thead>
    <tbody>
      <% for (const book of model) { %>
        <tr>
          <td><%= book.Title %></td>
          <td><%= book.Author %></td>
          <td><%= book.Comments %></td>
          <td class="d-print-none">
            <a class="btn btn-sm btn-warning" href="/edit/<%= book.Book_ID %>">Edit</a>
            <a class="btn btn-sm btn-danger" href="/delete/<%= book.Book_ID %>">Delete</a>
          </td>
        </tr>
      <% } %>
    </tbody>
  </table>
</div>
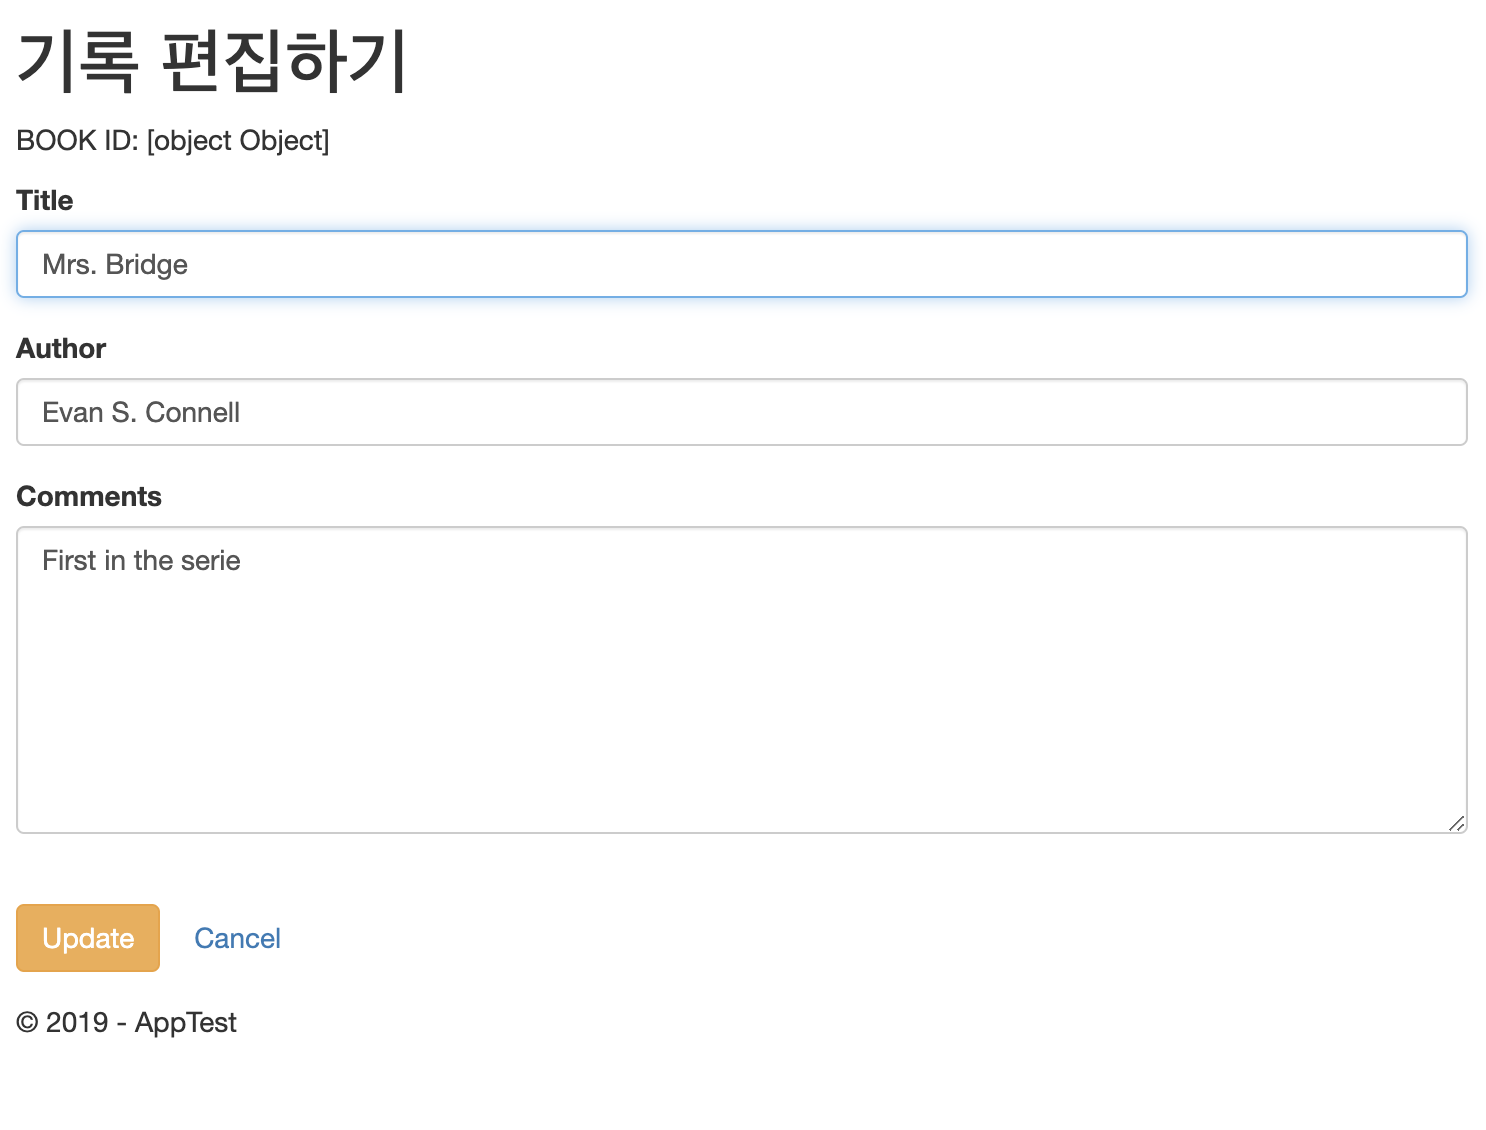
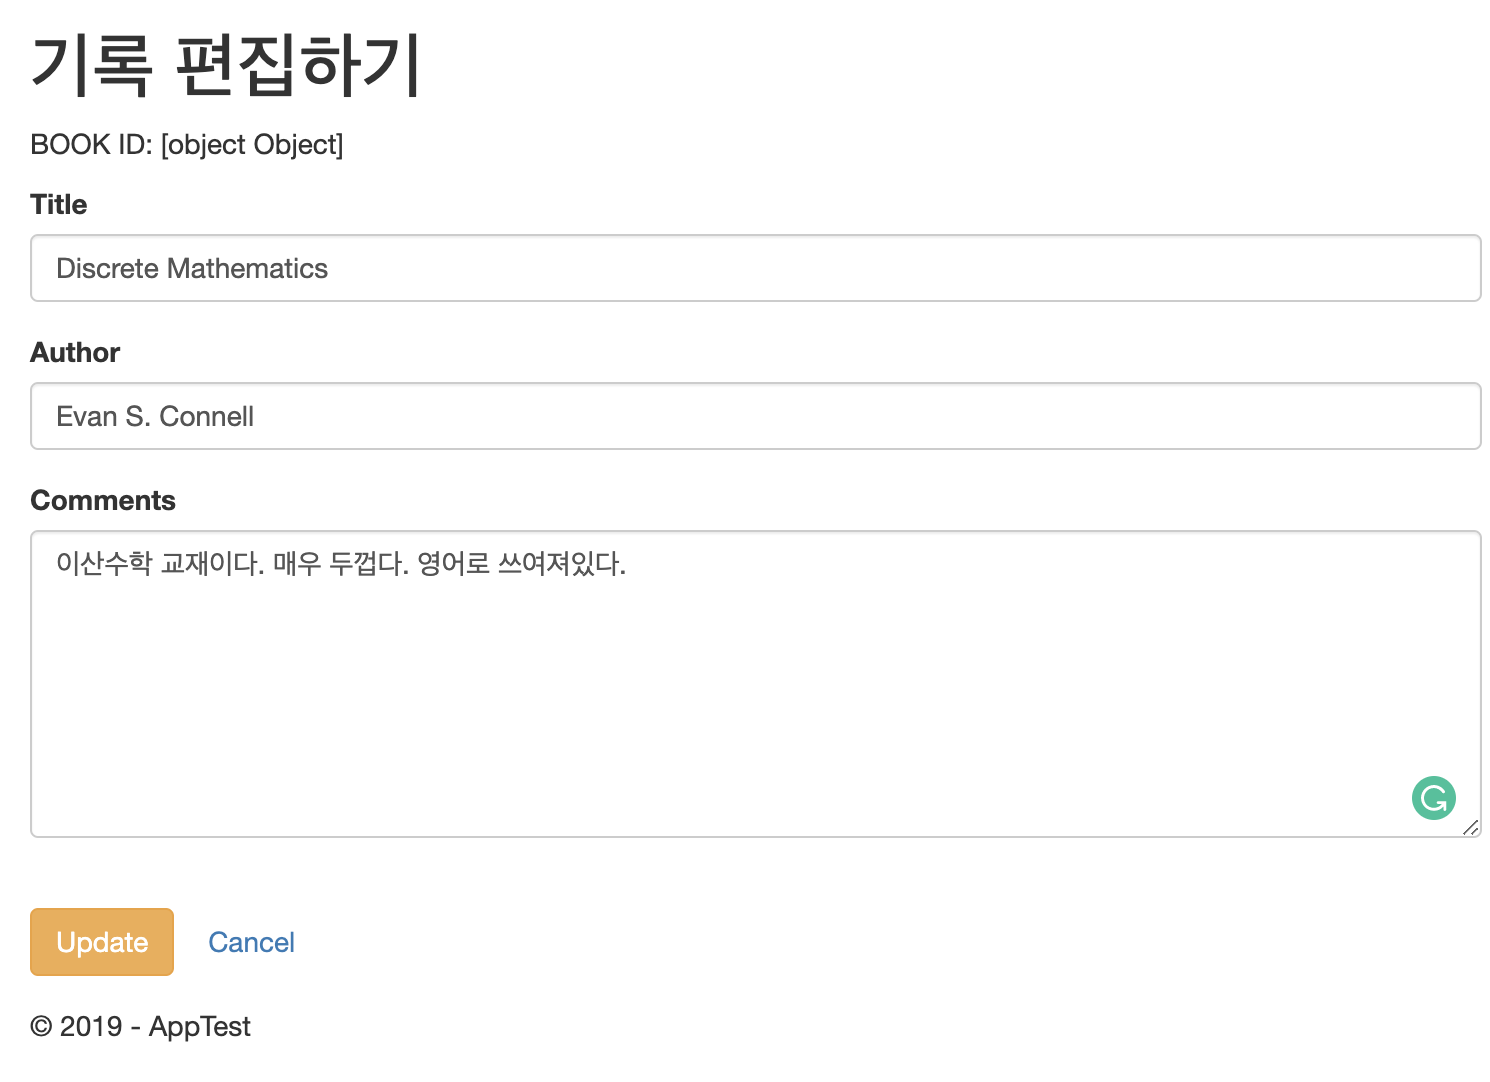
5. UPDATE - Edit 기능 추가하기
- 각 책마다 있는 edit 버튼을 누르면 내용을 변경할 수 있다.
- index.js에서 post된 값을 받기 위해서는 middleware인 express.urlencoded()를 추가해줘야 한다!
- 기본적으로 테이블은 부트스트랩을 이용해 구성되어 있다.
// index.js
...
app.use(express.urlencoded({extended: false})); // middleware configuration
...

app.get("/edit/:id", (req, res)=> {
  const id = req.params.id;
  const sql = "SELECT * FROM Books WHERE Book_ID=?";
  db.get(sql, id, (err, row)=>{
    if(err) {
      console.error(err.message);
    }
    res.render("edit", {model:row});
  });
});

app.post("/edit/:id", (req, res)=>{
  const id = req.params.id;
  const book = [req.body.Title, req.body.Author, req.body.Comments, id];
  const sql = "UPDATE Books SET Title=?, Author=?, Comments=? WHERE (Book_ID = ?)";
  db.run(sql, book, err=> {
    if(err) {
      console.error(err.message);
    }
    res.redirect("/books");
  })
})

//edit.ejs
<%- include("header") -%>

<h1>기록 편집하기</h1>

<form action="/edit/<%= model.Book_ID %>" method="post">
    <p>BOOK ID: <%= model %></p>
    <div class="form_horizontal">
      <%- include("_editor") -%>
      <div class="form-group row">
        <label class="col-form-label col-sm-2"></label>
        <div class="col-sm-10">
          <input type="submit" name="" value="Update" class="btn btn-default btn-warning" >
          <a class="btn btn-outline-dark cancel"href="/books">Cancel</a>
        </div>
      </div>
    </div>
</form>

<%- include("footer") -%>

//_editor.ejs
<div class="form-group row">
    <label class="col-form-label col-sm-2" for="Title">Title</label>
    <div class="col-sm-8">
      <input autofocus class="form-control" name="Title" value="<%= model.Title %>" >
    </div>
</div>

<div class="form-group row">
    <label class="col-form-label col-sm-2" for="Author">Author</label>
    <div class="col-sm-7">
      <input class="form-control" name="Author" value="<%= model.Author %>" >
    </div>
</div>

<div class="form-group row">
    <label class="col-form-label col-sm-2" for="Comments">Comments</label>
    <div class="col-sm-10">
      <textarea class="form-control" name="Comments" rows="7" cols="20"><%= model.Comments%></textarea>
    </div>
</div>
6. CREATE - 새로운 책 추가하기
- edit할 때와 같은 형식을 사용하고 있는데, 이 때 _editor.ejs를 따로 만들었기 때문에 그대로 가져와서 사용할 수 있습니다.
- get과 post의 형식은 위에서 edit과 동일한 형태로 진행됩니다.
- 쿼리만 상황에 맞게 잘 사용하면 될 것 같습니다!


// index.js
app.get("/create", (req, res)=>{
  res.render("create", {model:{} });
});

app.post("/create", (req, res)=>{
  const book = [req.body.Title, req.body.Author, req.body.Comments];
  const sql = "INSERT INTO Books (Title, Author, Comments) VALUES (?, ?, ?)";
  db.run(sql, book, err=> {
    if(err){
      console.error(err.message);
    }
    res.redirect("/books");
  });
});

//create.ejs
<%- include("header") %>

<h1>새로운 책 추가하기</h1>
<form action="/create" method="post">
  <div class="form-horizontal">

    <%- include("_editor") %>

    <div class="form-group row">
      <label class="col-form-label col-sm-2"></label>
      <div class="col-sm-10">
        <input type="submit" value="Save" class="btn btn-default btn-success">
        <a href="/books" class="btn btn-outline-dark cancel">Cancel</a>
      </div>
    </div>
  </div>
</form>

<%- include("footer") %>
7. DELETE - 책 삭제하기
- 기본적으로 edit 페이지와 동일한 형식을 가지고 있습니다.
- 다른점이라고 하면 Title, Author, Comments를 나타내는 input이 readonly모드라는 점입니다
- Delete 버튼을 누르게 되면 삭제 완료
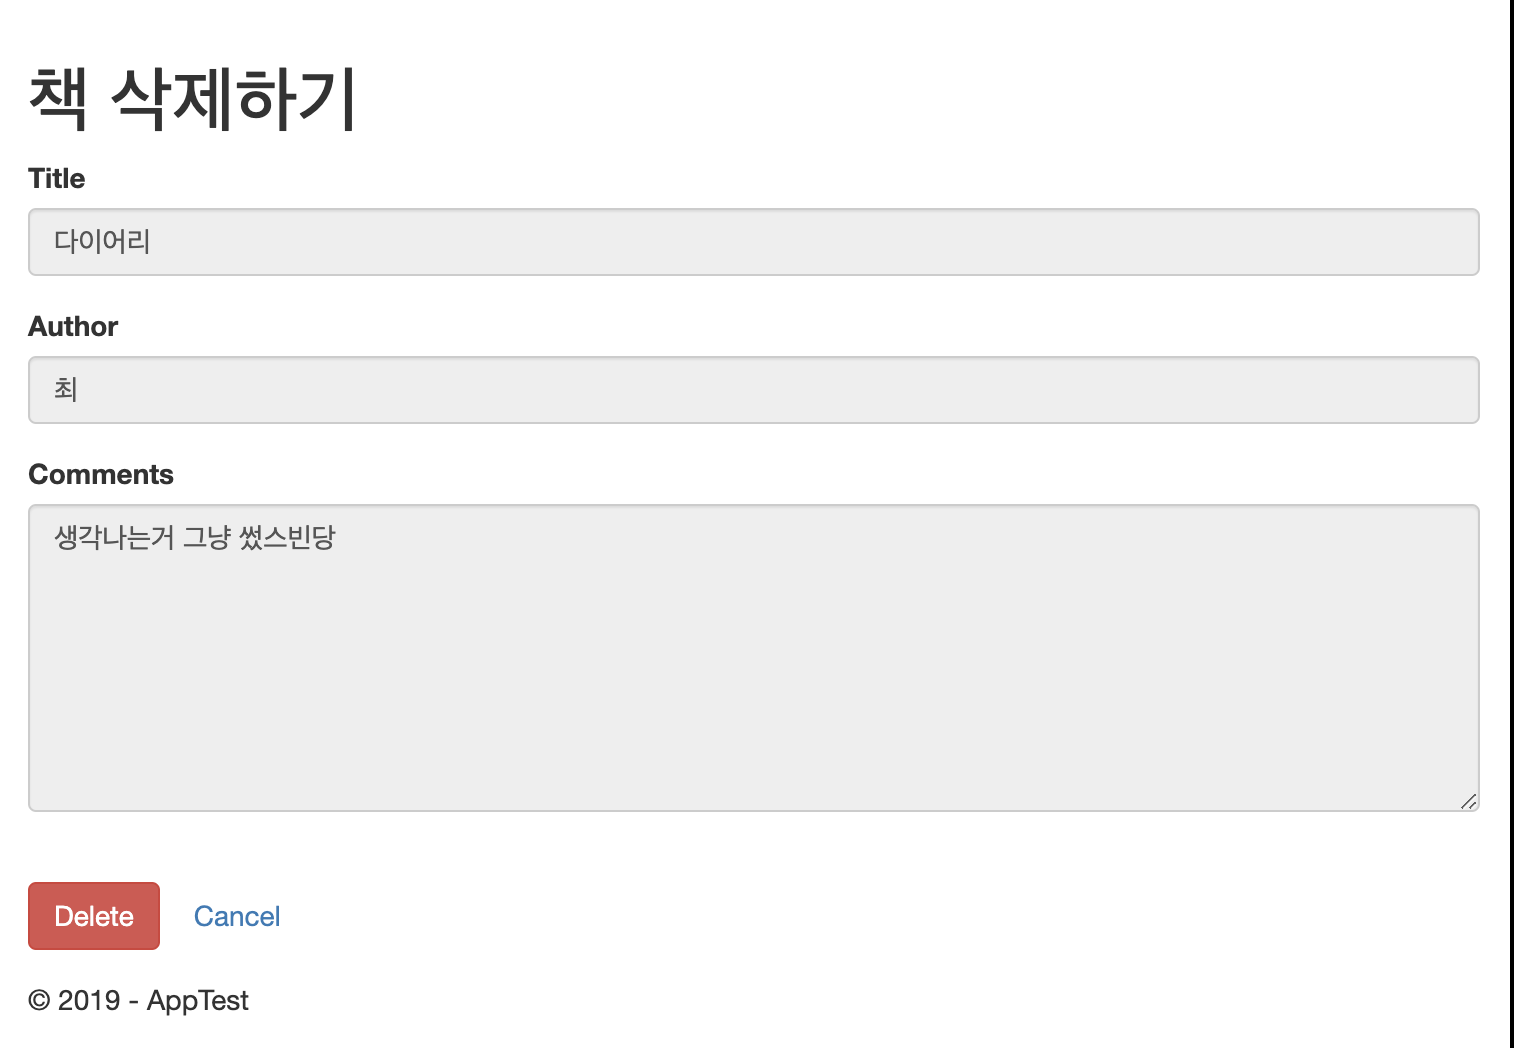
// delete.ejs

<%- include("_header") -%>

<h1>책 삭제하기</h1>
<form action="/delete/<%= model.Book_ID %>" method="post">

  <div class="form-horizontal">

    <%- include("_display") -%>

    <div class="form-group row">
      <label class="col-form-label col-sm-2"></label>
      <div class="col-sm-10">
        <input type="submit" class="btn btn-default btn-danger" value="Delete">
        <a href="/books" class="btn btn-outline-dark cancel">Cancel</a>
      </div>
    </div>
  </div>

</form>

<%- include("_footer") -%>


// _display.ejs
// _editor.ejs와 비교해서 input에 readonly 속성이 추가됨.
<div class="form-group row">
  <label class="col-form-label col-sm-2" for="Title">Title</label>
  <div class="col-sm-8">
    <input readonly class="form-control" id="Title" value="<%= model.Title %>" />
  </div>
</div>

<div class="form-group row">
  <label class="col-form-label col-sm-2" for="Author">Author</label>
  <div class="col-sm-7">
    <input readonly class="form-control" id="Author" value="<%= model.Author %>" />
  </div>
</div>

<div class="form-group row">
  <label class="col-form-label col-sm-2" for="Comments">Comments</label>
  <div class="col-sm-10">
    <textarea readonly class="form-control" cols="20" id="Comments" maxlength="32000" rows="7"><%= model.Comments %></textarea>
  </div>
</div>

// index.js
app.get("/delete/:id", (req, res)=>{
  const id = req.params.id;
  const sql = "SELECT * FROM Books WHERE Book_ID=?";
  // 쿼리의 결과값을 model에 전달해주기 때문에 꼭 db.get으로 설정해주기!
  // db.run으로 실행했다가 잘못된 부분을 한참 찾았었습니다..
  db.get(sql, id, (err, row)=>{
    if(err) {
      console.error(err.message);
    }
    res.render("delete", {model: row});
  });
});

app.post("/delete/:id", (req, res)=> {
  const id = req.params.id;
  // db에서 선택된 책 삭제하는 쿼리
  const sql = "DELETE FROM Books WHERE Book_ID=?";
  db.run(sql, id, err =>{
    if(err) {
      console.error(err.message);
    }
    res.redirect("/books");
  });
});
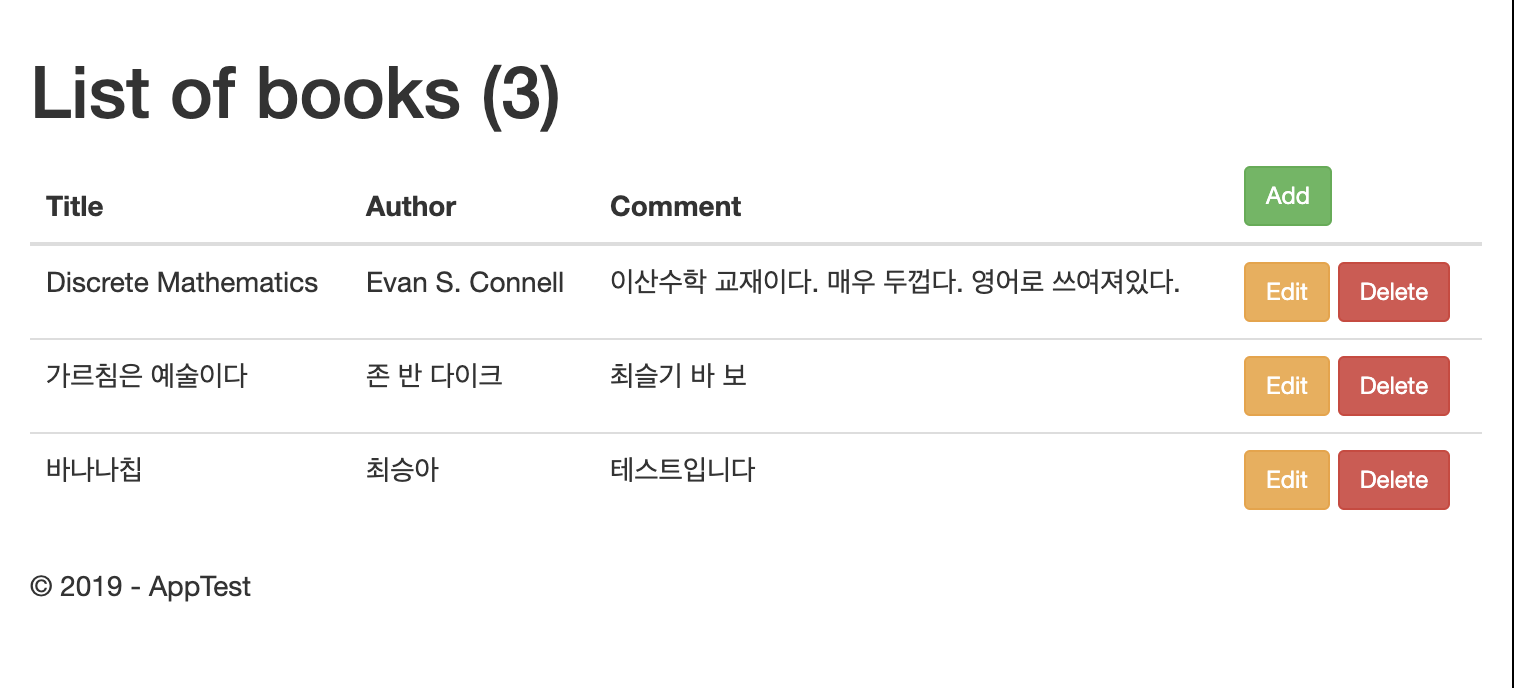
여기까지 하게 되면 CREATE, READ, UPDATE, DELETE를 갖춘 게시판이 완성되었습니다!
전체 코드는
https://blog.pagesd.info/2019/10/08/crud-with-express-sqlite-10-steps/
CRUD application with Express and SQlite in 10 steps
The goal of this very simple project is to develop a Node JS application to learn how to:
blog.pagesd.info
이 게시물을 참고해서 만들어진 게시판 예제입니다!
github.com/ChoiSeungA/sqlite_CRUD.git
ChoiSeungA/sqlite_CRUD
Contribute to ChoiSeungA/sqlite_CRUD development by creating an account on GitHub.
github.com
CRUD 게시판 전체 코드는 위의 깃허브에서 확인하실 수 있습니다 :D
https://crud-example-sqlite.herokuapp.com/
AppTest
crud-example-sqlite.herokuapp.com
위의 heroku 무료 호스팅 웹사이트로 들어가면 게시판 예시를 볼 수 있습니다!